Note
This guide was orginally written in November 2017.
In a Jiffy!
Using the new Reloaded MK2 motherboard for the C64 in combination with the 1541 Ultimate II+ cartridge has made it ridiculously easy to use JiffyDOS without the fuss of opening up hardware and lifting chips from sockets.
JiffyDOS is great. It speeds up disk operations and adds easier to use commands to work with the disk drive and floppies. Technical details can be found here, and also instructions how to use it: https://www.c64-wiki.com/wiki/JiffyDOS.
We need two ROM images: the one for the C64 itself, and the ROM that needs to be used in the disk drive. These can be acquired from various places. Let’s set those ROMs to work.
Upload kernal to the Reloaded MK2
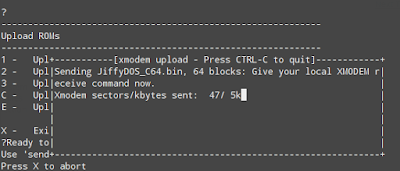
The kernal ROM needs to be uploaded to the motherboard by using the USB file transfer method.
I use Linux Mint, with Minicom. In order for xmodem file transfers over serial to work, and not report “failure executing protocol”, an Y/Z modem needs to be installed. I do not know why this doesn’t work out of the box, but entering sudo apt-get install lrzsz in a terminal window did the trick for me. I love Google.
Sending the file to the board takes a few seconds:
Note
After uploading, the ROMs list does not show that an image has been uploaded to the board. So make a note on which ROM you put in which slot.
Activating the Jiffydos Kernal
Selecting M and then K gets you into the kernal ROM select menu:
------------------------------------------------------------
Memory and ROM selection
------------------------------------------------------------
C -   Select character ROM
E -   Select function of extra image
I -   Memory initialization pattern
K -   Select kernal ROM

X -   Exit menu
?
------------------------------------------------------------
Select kernal ROM
------------------------------------------------------------
D -   Use default kernal ROM
1 ==> Use custom kernal ROM image 1
2 -   Use custom kernal ROM image 2
3 -   Use custom kernal ROM image 3

X -   Exit menu
Select option 1 to select the kernal ROM we uploaded.
Make sure to use menu “W - Write settings” to save the settings. From now on, the MK2 will start with this kernal activated.
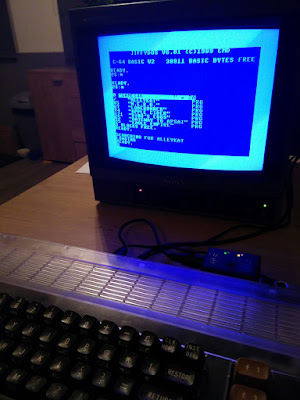
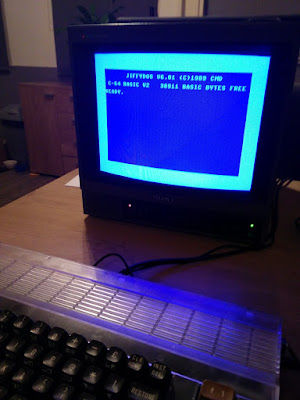
Now, the C64 to be restarted, or the menu item “Z - Reinitialize memory and reload ROM images from flash” needs to be executed. After restarting, my C64 shows that Jiffydos is loaded:
We can make selecting the kernal ROMs a bit easier though by changing the setting in the “K - Configure Keys (RESTORE and RESET/POWER)” menu. I changed the long press of the reset button to switch between custom image 1 and the default kernal ROM.
------------------------------------------------------------
Configure long press RESET/POWER function
------------------------------------------------------------
1 ==> Toggle between default kernal and custom image 1
2 -   Cycle through default kernal and custom image 1, 2
3 -   Cycle through default kernal and all custom images
C -   Toggle between default and custom character ROM
R -   Reset machine
S -   Toggle between SID-1 and SID-2 (when set to mono)
After performing this action (hold the reset button for at least 5 seconds) you need to reset the machine to activate the other kernal ROM. So hold, and then short press the reset button.
ROM upload to the 1541 Ultimate II+
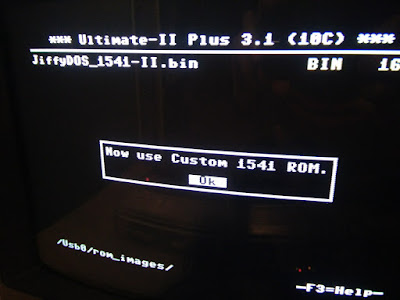
Next, we need to set the 1541 Ultimate II+ to use the JiffyDOS ROM for its 1541 drive. This is done by first locating the ROM on the USB stick and selecting it.
This will open a menu, allowing you to use it as a drive ROM:

Selecting the ROM tells you what to do next:
Lets do what we’re told: lets change the drive A ROM to Custom. This is done by going into the settings menu F2 and then selecting the drive A settings option:

Press ENTER and we’re done.
Result!
We can now use JiffyDOS in combination with the 1541 Ultimate II+. Really nice! Fastload without taking a cartridge slot, and handy shortcut commands when using diskettes: