Note
This review was originally posten on November 2017.
Some time ago I pre-ordered the new motherboard for the C64: the Reloaded MK2. Let’s play!
Product Overview
The C64 Reloaded MK2 board comes with a nice one-sheet giving an overview of the layout, connectors and features.
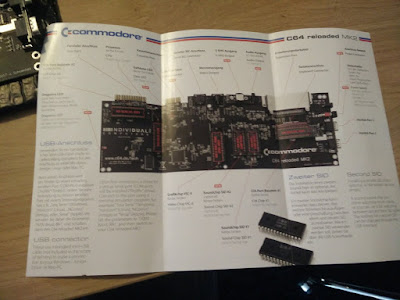
A more detailed explanation of the board can be found here:
http://wiki.icomp.de/wiki/C64_reloaded_mk2
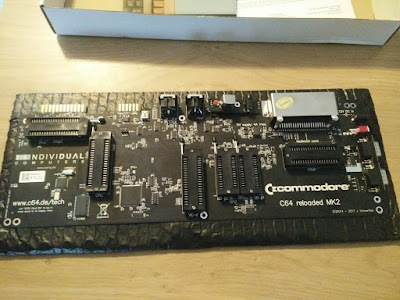
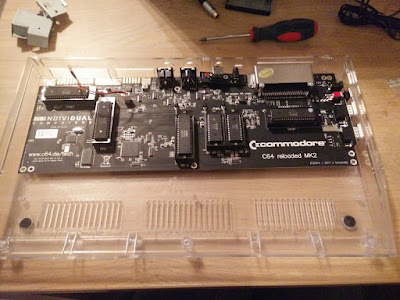
After taking the board from the plastic wrapper, you are faced with this. I liked the coloured sockets of the MK1 board, but this is a sleek look, really nice!
Preparations
I gathered a few donor machines when I ordered the MK2 board, and when I got the confirmation that the board was shipped I started desoldering the required chips:
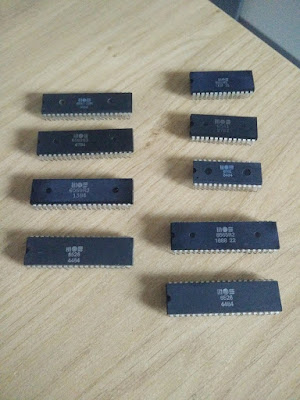
- 2x CIA
- 1x 6510
- 1x SID
- 1x VIC II
Having a few spare boards, I acquired a small collection of these so I could play around with them when needed. And it was needed.
The board is powered by 12V DC, at 1 or 2 amp. I had a spare power supply lying about, so no problem there. Yes, the package does not include a power supply.
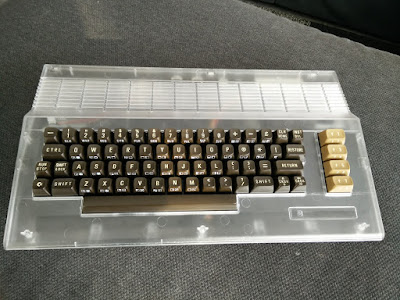
As the case I was going to use is a C64C case, I also needed a keyboard, and the required clamps on which the keyboard rests. The clamps were pulled from a spare C64C. The keyboard came from an early C64, as I like the bright function keys.
Fitting the chips
Fitting chips is easy: lift the handle, drop in the chip, and move the handle down. The notch on the chip needs to face the handle.
Start up
When I powered up the board for the first time, I got no video, and the error led on the board was flashing. As it does this on all errors this didn’t tell me much, but the board has a great feature: USB access to a debugging and configuration menu!
I attached the cable to the USB port near the tape connector and started Minicom.
Note
It is important to turn off hardware flow control on the serial connection settings. If this is not done (it is enabled by default) you will not be able to send input to the board.
Pressing I to see the chip information. It shows the fitted chips. If anything is not recognised by what ever reason it can be seen here.
Two of the three SID chips I had acquired turned out to be faulty (they showed up as ‘unidentified’, and the one I have in there now (which works) has an issue when playing samples. They are too low in volume, and are barely audible. And yes, it is a 6581.
Also, as I got my chips from a collection of donor machines, I had to play around with the mixing of the cpu and cia chips. In the end it all turned out ok.
The chipset (menu item I) information is now:
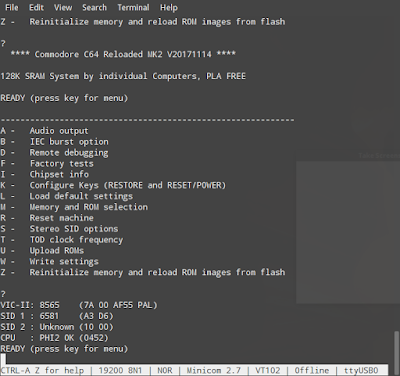
SID 2 showing up as Unknown is because there is no chip in the second socket until I can get more replacements.
This menu does not show the CIA chips, which I think is a bad omission as I had to replace these as well. Why does it not show them? Hopefully a future update will add more chipset information.
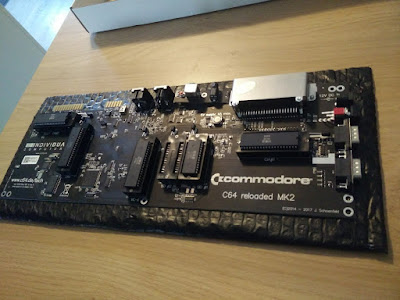
Fitting the board
A long, long time ago I bought a transparant C64C case. The idea had always been to add a new board to this case, so now was the time to finally do it!
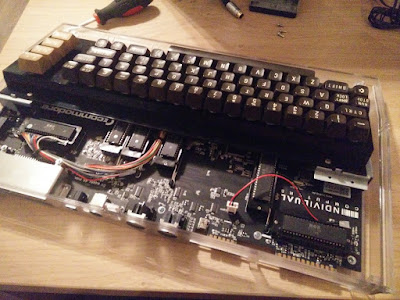
Adding the keyboard was a bit of an issue. After adding the keyboard I noticed that the power button was touching the underside of the hole in the case, causing the power button to stay in the on position. You can also see that the joystick ports are almost touching the bottom case holes as well:
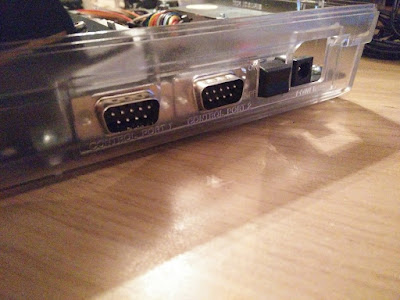
It turned out that the left keyboard bracket needed a little adjusting, as it was touching joystick port 2:
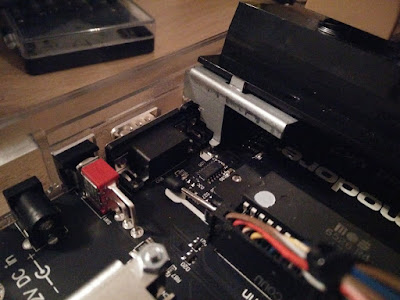
Some bracket parts were bent to make sure that the bracket would rest correctly on the motherboard. Your mileage may vary.
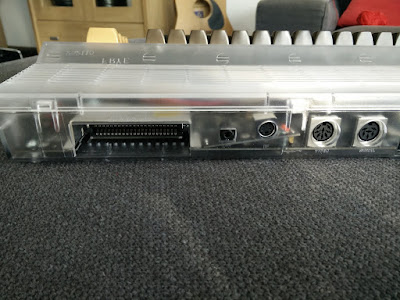
After closing everything up I had a perfect fit:
So far I am really pleased. The MK2 looks great, has nice hardware features, and has options that will enable us to do things with the C64 we could not do without hardware hacks and soldering.
I’ll be posting more when I get to play with custom ROMs, and using other hardware to see what kind of neat things we can do with this motherboard.
See you next time!